

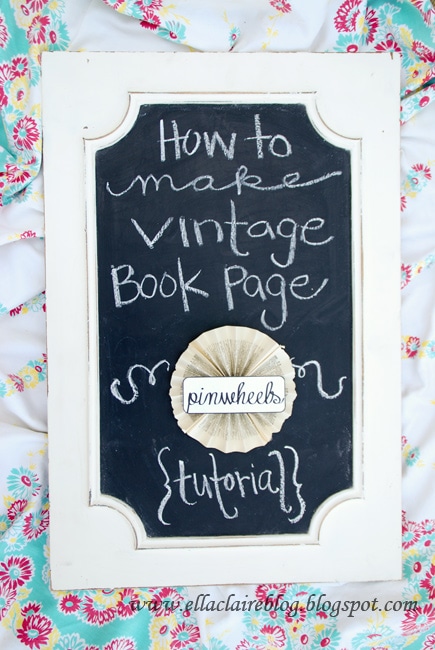
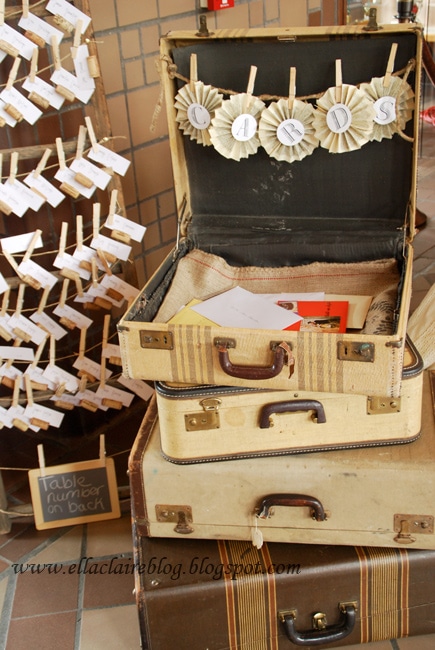
I have had so many comments and emails about my "cards" banner I made for the wedding I posted about here and here. Although it is very similar to the banner I made here, I thought I would post a more detailed tutorial for this specific banner.

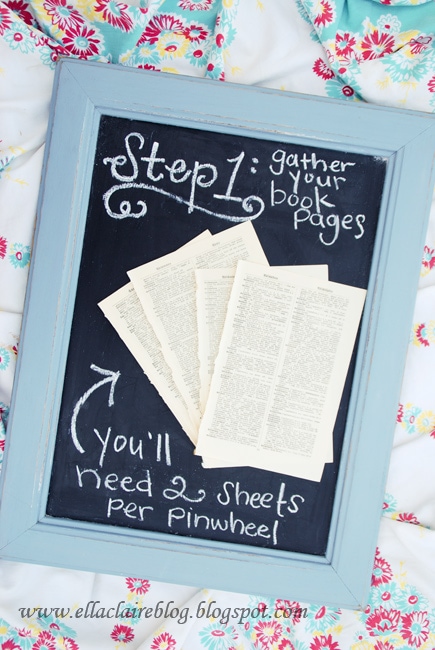
~Step One~ Gather uo your book pages. My favortie books to use are old encyclopedias and dictionaries since they have a great patina and their letters and words are more condensed.
I just like how they look, but really, any book will do.
You will need 2 sheets per pinwheel. This book was on the smaller side, so I used full pages for my pinwheels, however, if you are using a bigger sized page, feel free to cut them in half.

~Step Two~ Fan fold your pages. There can be as little or as many folds as you want, depending on how tight you want your pinwheel folds.
This is something you will have to play around with until you get the look you like.
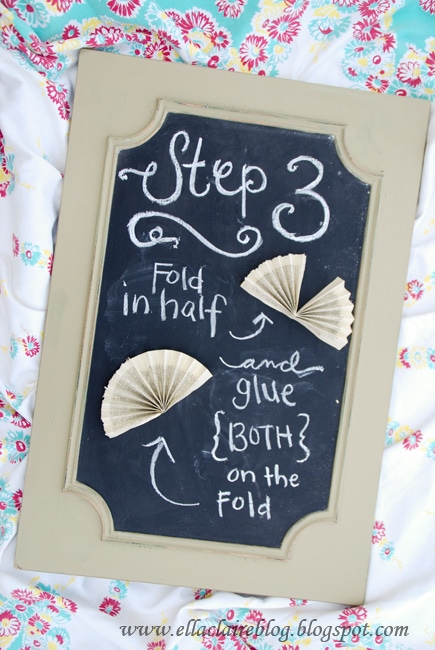
~Step Three~ Fold each of your fans in half and glue both of them on the fold. I prefer using just a regular old glue gun, but double sided tape works well, too. I think the glue gun lasts longer, though.
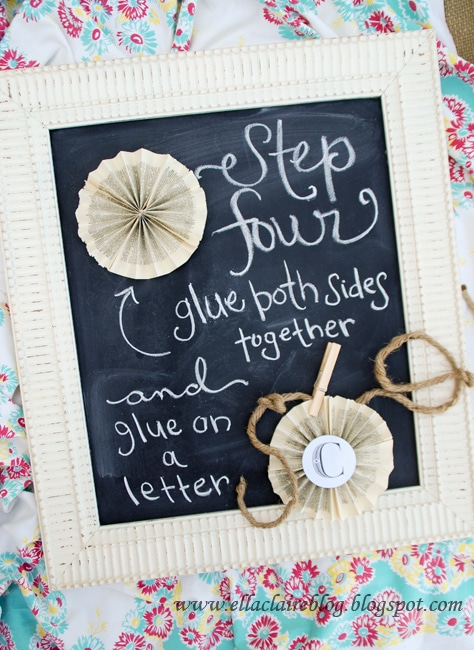
~Step 4~ Glue both of the halves together.
I usually put a couple of reinforcing dots of glue in the middle where I want the fans to stay more tight.
You kind of just have to play with it until it looks and lays right.
Once dry, print off your letters onto cardstock or self adhesive paper and secure it to the center of your pinwheel.
The letters I used came from here on Martha Stewart's site.
They are free to download, and I think they are the perfect size.
I like the look of securing them to this chunky twine with clothespins, however, you could create more of a banner by attaching them with ribbon like I did here.
For Christmas, I made up a bunch of these with ribbon, and put the letters close together, spelling out "Joy," "Merry Christmas," "Noel," etc. and in between each letter, I tied little knots of different kinds of red ribbons.
There are so many directions you can go with these. They are so fun!
Thank you for reading!
Kristel
So cute! I have seen these in my local antique store, and wondered how they made them, now thanks to you, I know, so thank you!
Tani@Tagana Rose
What a great idea!! I am so excited about using this idea for future birthday decorations - it would look terrific!!
Thanks for the tutorial!
Jennifer Taylor
Gosh Kristen! I love your tutorials! So awesome! You have the best ideas!